> ## Documentation Index
> Fetch the complete documentation index at: https://docs.meetdarwin.ai/llms.txt
> Use this file to discover all available pages before exploring further.
# Step 2: Connect your calendar
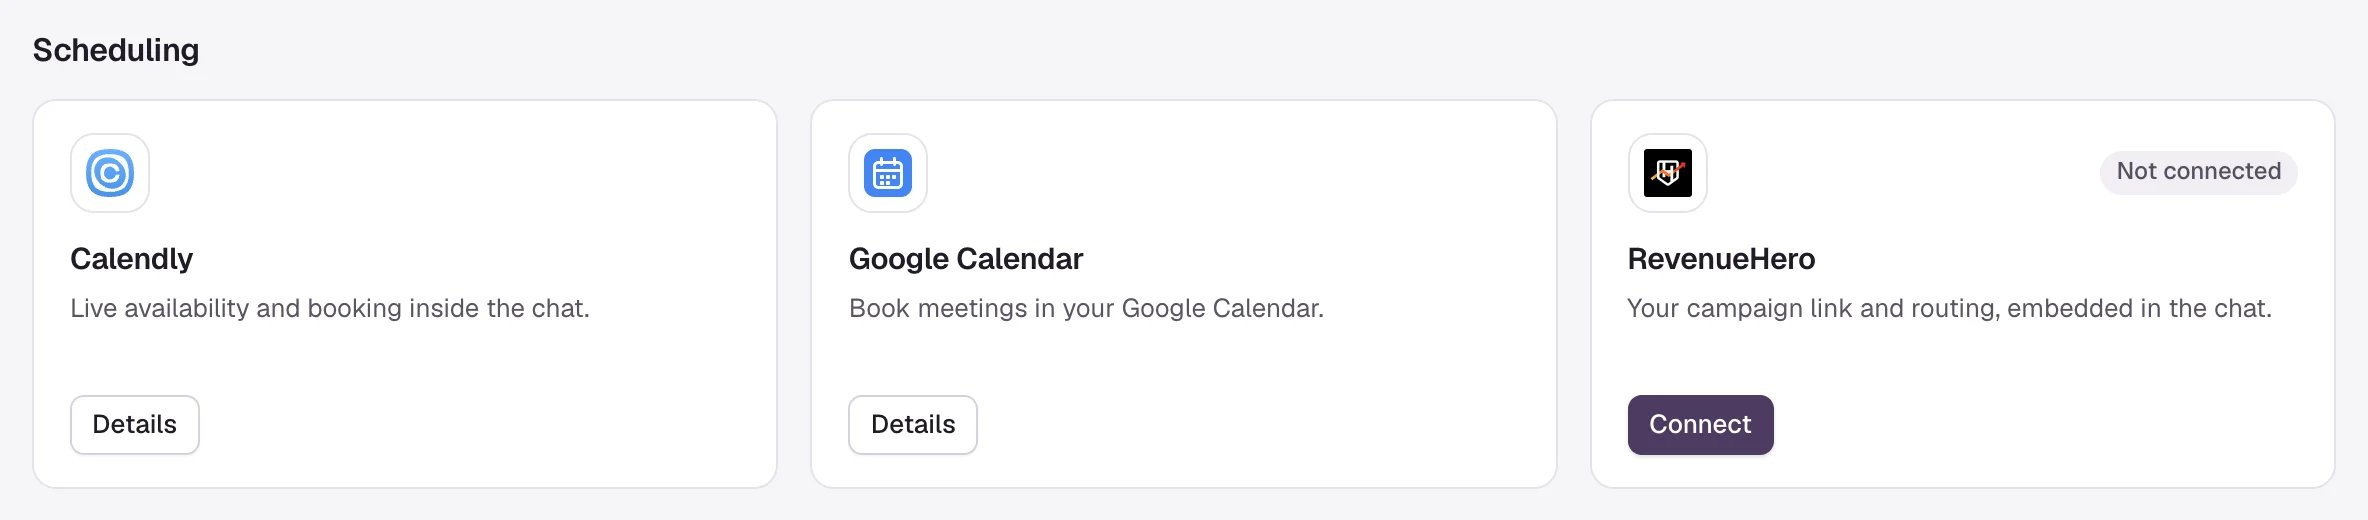
> Setting up on your own: connect Google Calendar, Calendly or RevenueHero in Integrations → Scheduling so visitors can book a meeting in the chat. One short flow for each calendar.
Darwin books meetings into the calendar you connect. Pick the one your team already uses; you only need one. When it's connected, Home ticks off **Scheduling**.
 Darwin books into your Google Calendar with your own rules for length, notice and hours.
In **Integrations**, select **Connect** on the **Google Calendar** card.
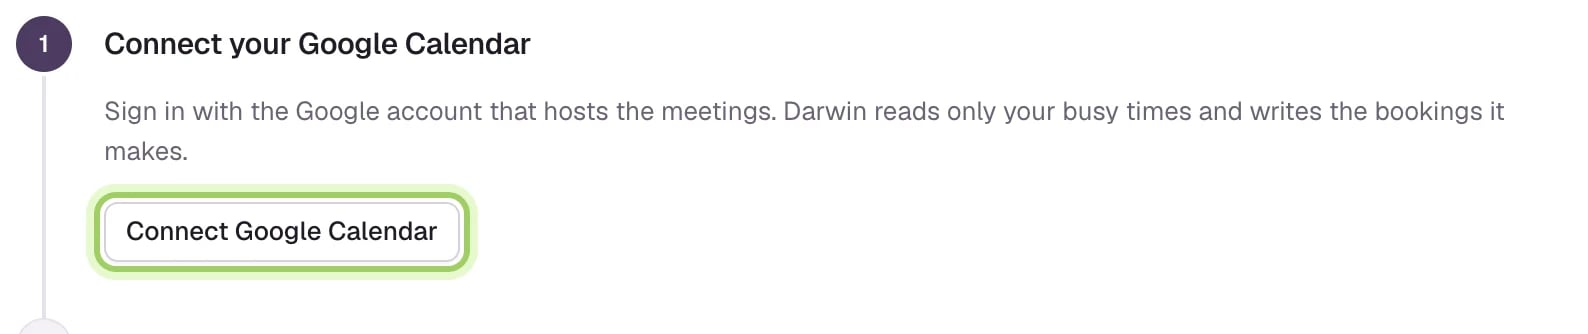
Select **Connect Google Calendar** and choose the Google account visitors should book into. Approve every permission Google lists; the connection doesn't finish otherwise.
Darwin books into your Google Calendar with your own rules for length, notice and hours.
In **Integrations**, select **Connect** on the **Google Calendar** card.
Select **Connect Google Calendar** and choose the Google account visitors should book into. Approve every permission Google lists; the connection doesn't finish otherwise.
 Select **Set booking rules**, choose the meeting length, buffer, minimum notice, weekly hours and video call (Google Meet, Zoom or none), then select **Save booking rules**.
 Full guide: [Connect Google Calendar](/integrations/google-calendar). For Zoom links, also [connect Zoom](/integrations/zoom).
Darwin offers times from one Calendly meeting type and books it in the chat.
In **Integrations**, select **Connect** on the **Calendly** card.
Select **Connect Calendly** and sign in to Calendly. You need Calendly Standard or higher.
Full guide: [Connect Google Calendar](/integrations/google-calendar). For Zoom links, also [connect Zoom](/integrations/zoom).
Darwin offers times from one Calendly meeting type and books it in the chat.
In **Integrations**, select **Connect** on the **Calendly** card.
Select **Connect Calendly** and sign in to Calendly. You need Calendly Standard or higher.
 Select **Choose meeting type**, pick the event visitors should book, then select **Use this meeting**.
 Full guide: [Connect Calendly](/integrations/calendly).
Darwin sends visitors to your RevenueHero campaign, and RevenueHero tells Darwin when a meeting is booked.
In RevenueHero, go to **Routers → Campaign** and copy the public link of the campaign Darwin should use.
In **Integrations**, select **Connect** on the **RevenueHero** card. Paste the link under **Paste your campaign link** and select **Save link**.
Full guide: [Connect Calendly](/integrations/calendly).
Darwin sends visitors to your RevenueHero campaign, and RevenueHero tells Darwin when a meeting is booked.
In RevenueHero, go to **Routers → Campaign** and copy the public link of the campaign Darwin should use.
In **Integrations**, select **Connect** on the **RevenueHero** card. Paste the link under **Paste your campaign link** and select **Save link**.
 Under **Confirm bookings in Darwin**, select **Copy URL**. In RevenueHero, create a workflow with the trigger **When a meeting is booked** and the action **Send a webhook** to that URL, then turn it on.
 Full guide: [Connect RevenueHero](/integrations/revenuehero).
## Good to know
* Booking from the Agent Studio preview is a test. It doesn't put a real meeting in your calendar.
* One calendar handles new bookings at a time. Setting up another one later switches new bookings to it; meetings already booked aren't canceled.
Ask it a few questions before visitors do.
All five steps.
This documentation is built and hosted on [Mintlify](https://mintlify.com), a developer documentation platform.
Full guide: [Connect RevenueHero](/integrations/revenuehero).
## Good to know
* Booking from the Agent Studio preview is a test. It doesn't put a real meeting in your calendar.
* One calendar handles new bookings at a time. Setting up another one later switches new bookings to it; meetings already booked aren't canceled.
Ask it a few questions before visitors do.
All five steps.
This documentation is built and hosted on [Mintlify](https://mintlify.com), a developer documentation platform.